Gesso Board Prints
Emily Deisler
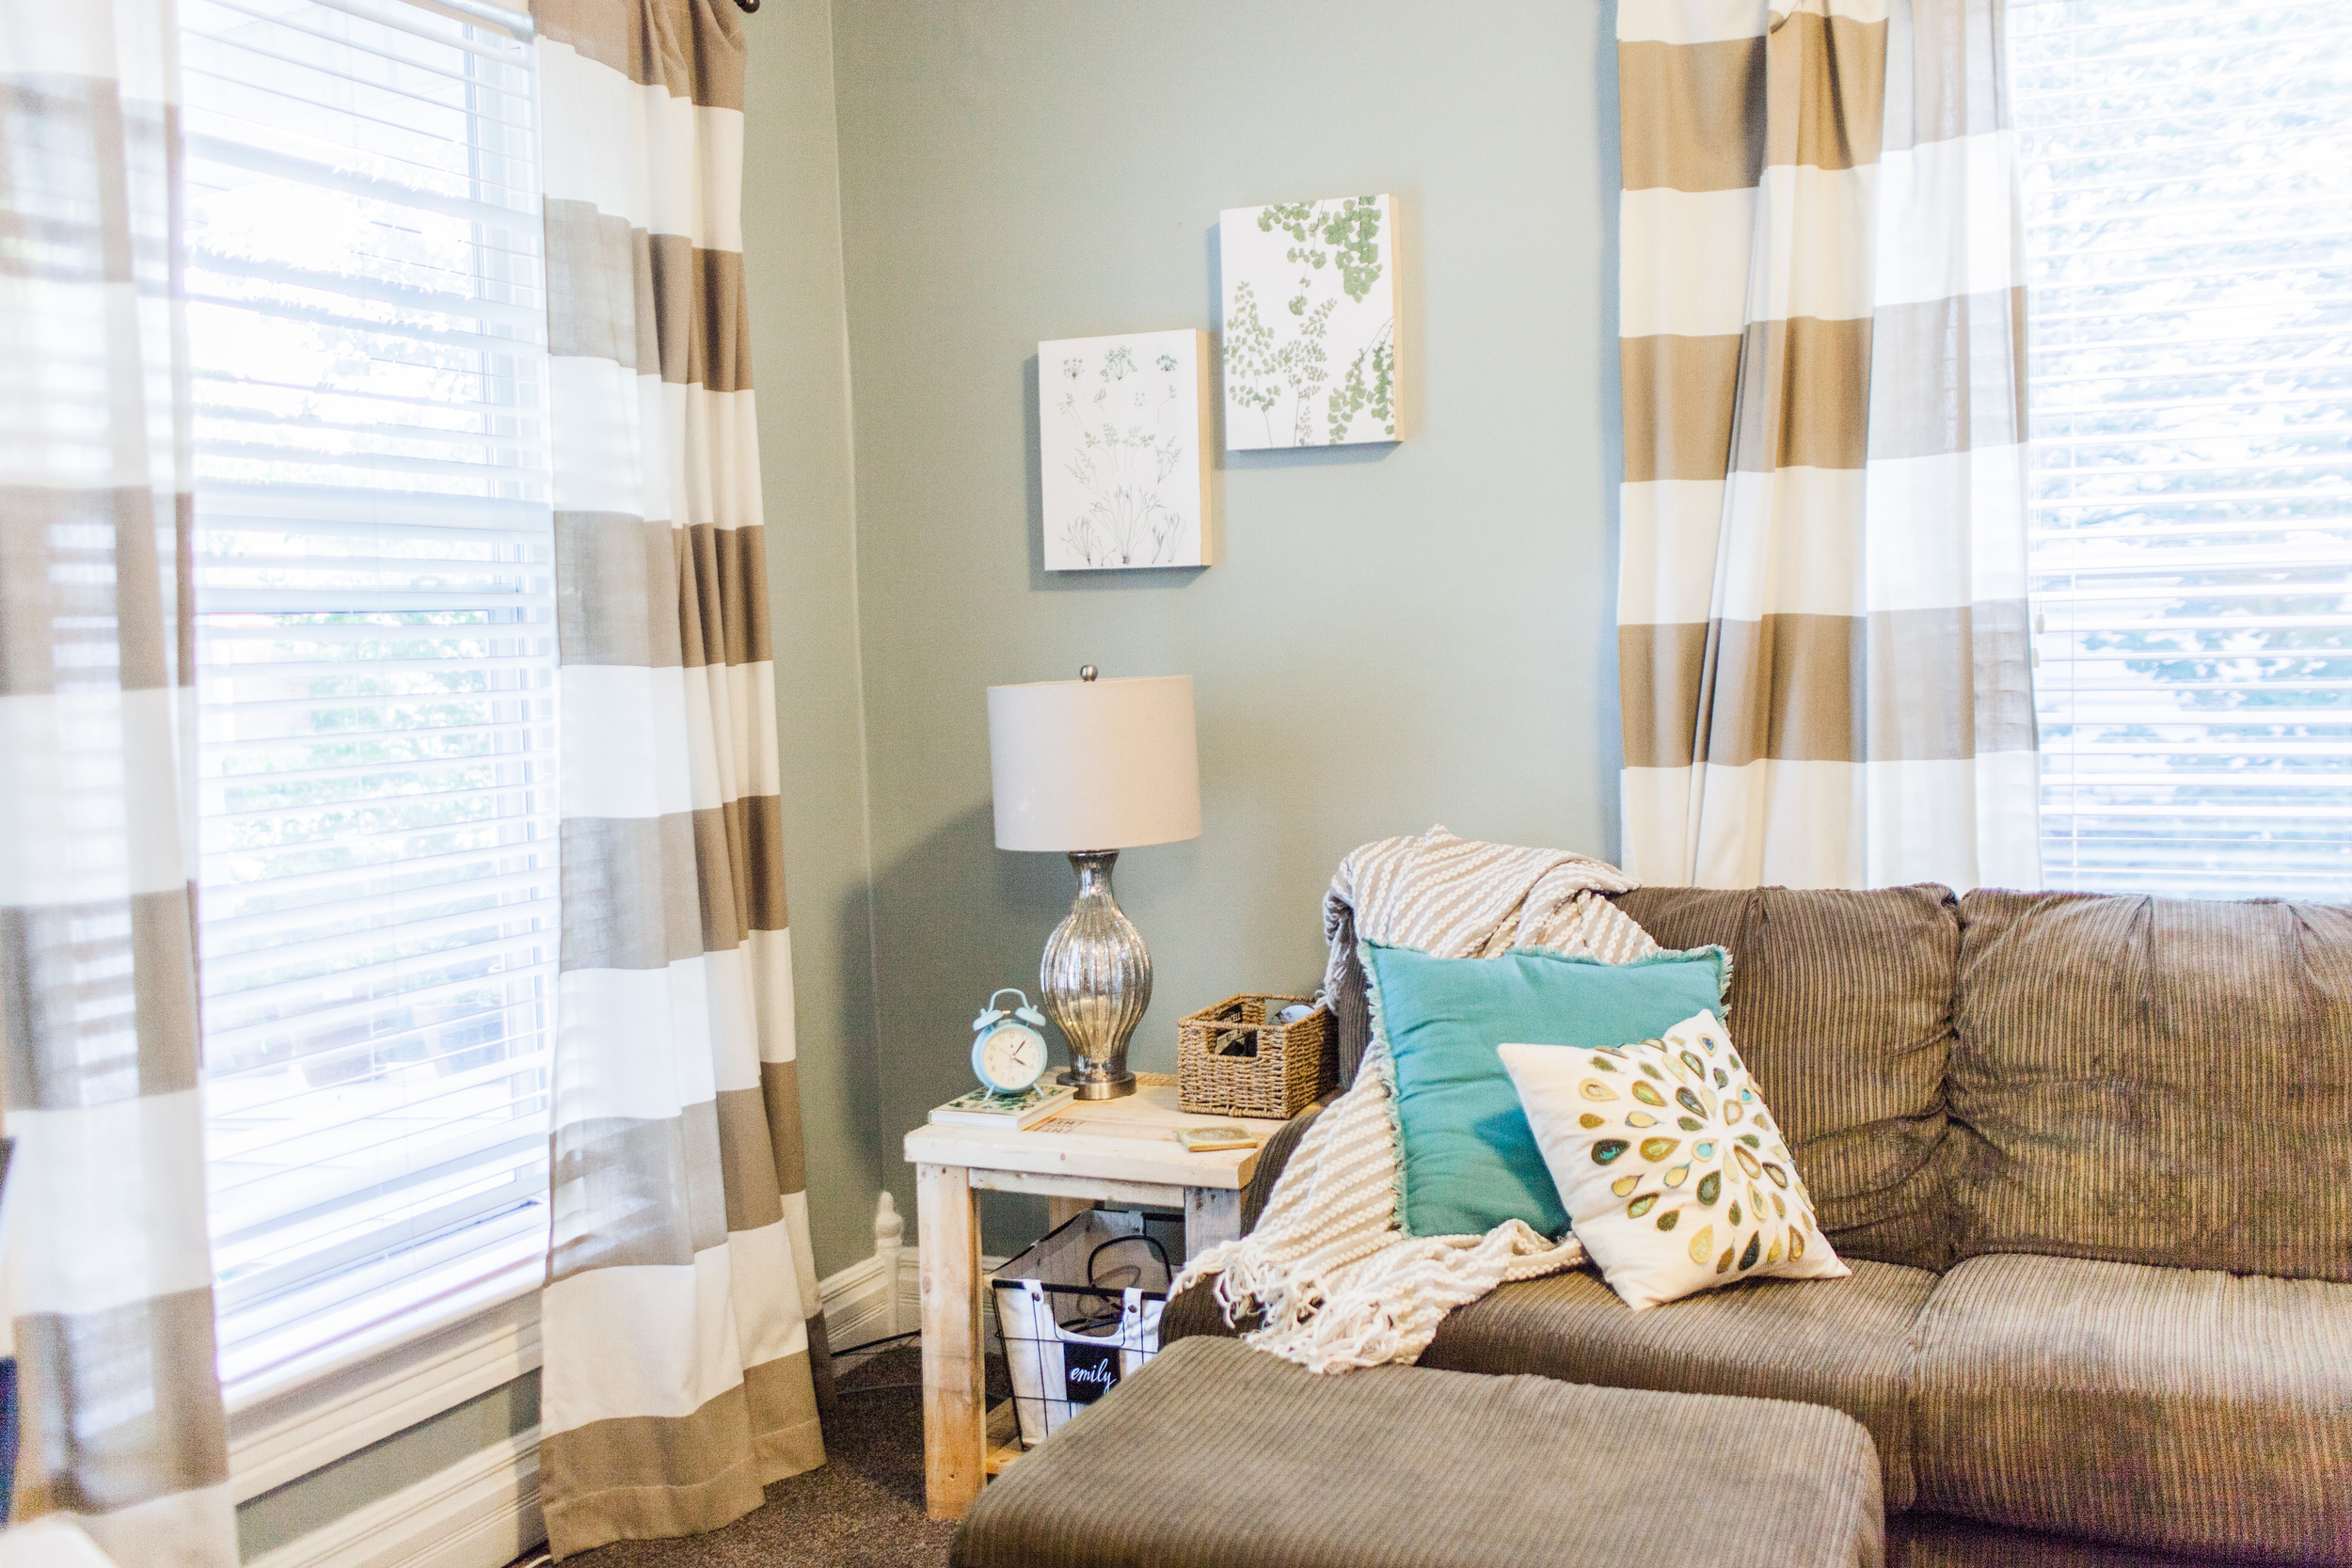
Nothing says "I am full of possibility!" like a blank wall, a rare find in my house do to a lack of not being able to leave walls alone. I set out wanting to fill out a focal wall in my living room, without spending a lot of money. I knew I wanted to add a pop of color, and based on the layout of the living area I felt something symmetrical would look best. The space already had a calm, relaxing vibe, so I felt nature inspired decor would hit the spot. The following post is my DIY solution, for under $50!
WHAT YOU'LL NEED
Matte Mod Podge (glossy works too if you have it)
Paintbrush or small foam roller
Smoothing item (such as a roll of tape)
4 Matte art prints, 80 lb paper or higher (I used 100 lb 12"x 16" for my project)
Scissors, or xacto knife for trimming
Start this easy DIY project by first gathering your materials. I am going to share the items I used with you, but know that you can adjust the materials to suit your needs. For example, I purchased my 12x16 gesso boards from Hobby Lobby, but feel free to purchase whatever size you desire. I found mine in store with a 2" depth, which make the prints dynamic enough not to need a frame. Also, at the bottom of the post you can download the artwork I printed, but feel free to utilize art prints that you like. At West 5th I want to inspire people to find and express their personal style and be confident in it.
I purchased all materials at my local Hobby Lobby and Lowe's Home Improvement store.
Begin this project by either downloading the art prints located at the bottom of this post, purchasing them here , or collecting your own images to use in the collage.
Print your imagery. I recommend printing on 80 lb paper or higher, to prevent wrinkling or tearing when applying the print to the board. Also, I preferred the look of matte paper because it will not cause a glare when light reflects off your image. Leaving it always in view! If you don't have a printer available, prints can be made at your local printer, or office supply store.
Trim your prints to the same size as your boards, in this case 12x16. Start by grabbing one print and one gesso board.
Lay your print on top of the board to ensure you have the right size, it will be much easier to trim now than later.
Next, paint the Mod Podge on the back of your art print as well as your gesso board, working swiftly to prevent the Mod Podge from drying. I prefer to use the roller over a paint brush, but the paint brush will add a nice handmade texture.
Now place the art print on top of the gesso board, artwork facing up. Begin in one corner, working your way across the board, smoothing and adjusting to prevent any wrinkles. Constantly check to ensure the artwork hasn't bubbled or wrinkled, using an object to rub it out when needed. Once the print is smooth across the board, apply another coat of Mod Podge.
Allow roughly an hour to dry, and then apply another coat of Mod Podge across the front. Once this second coat is dry, you are done! Feel inspired to make it your own by painting the sides of the board a fun color, or adding a stenciled monogram to the front. Repeat this process with all remaining boards.


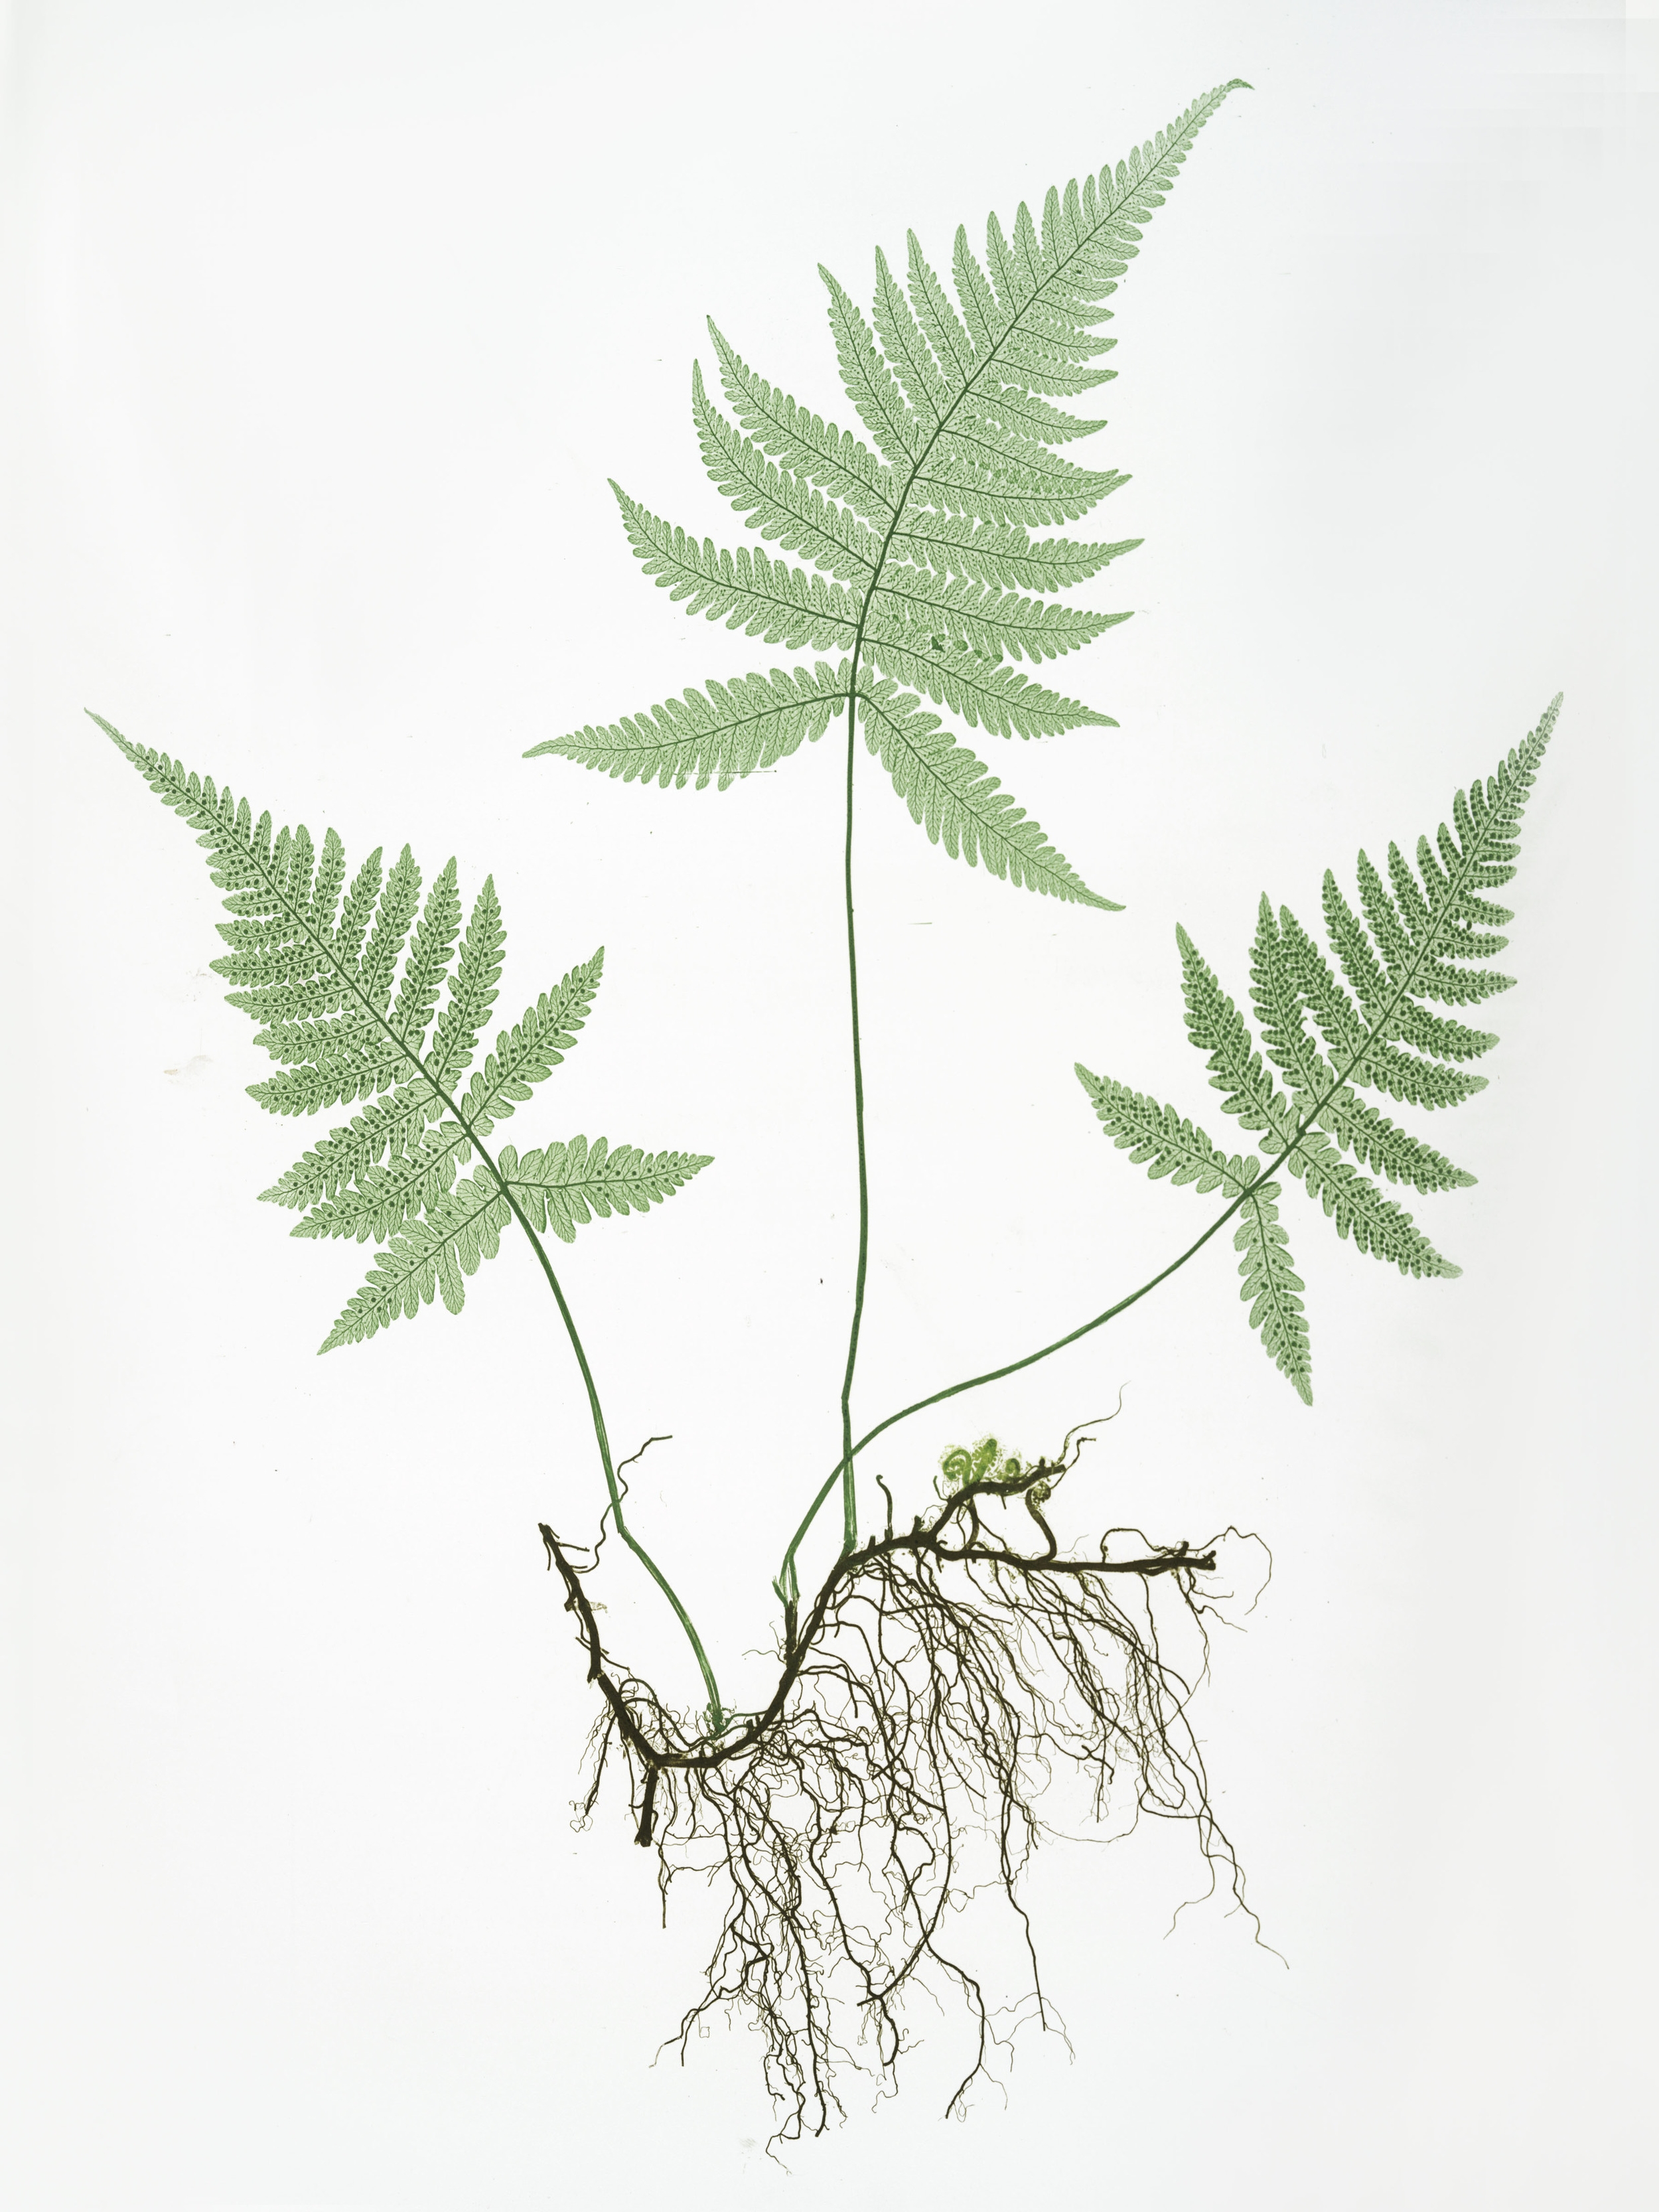
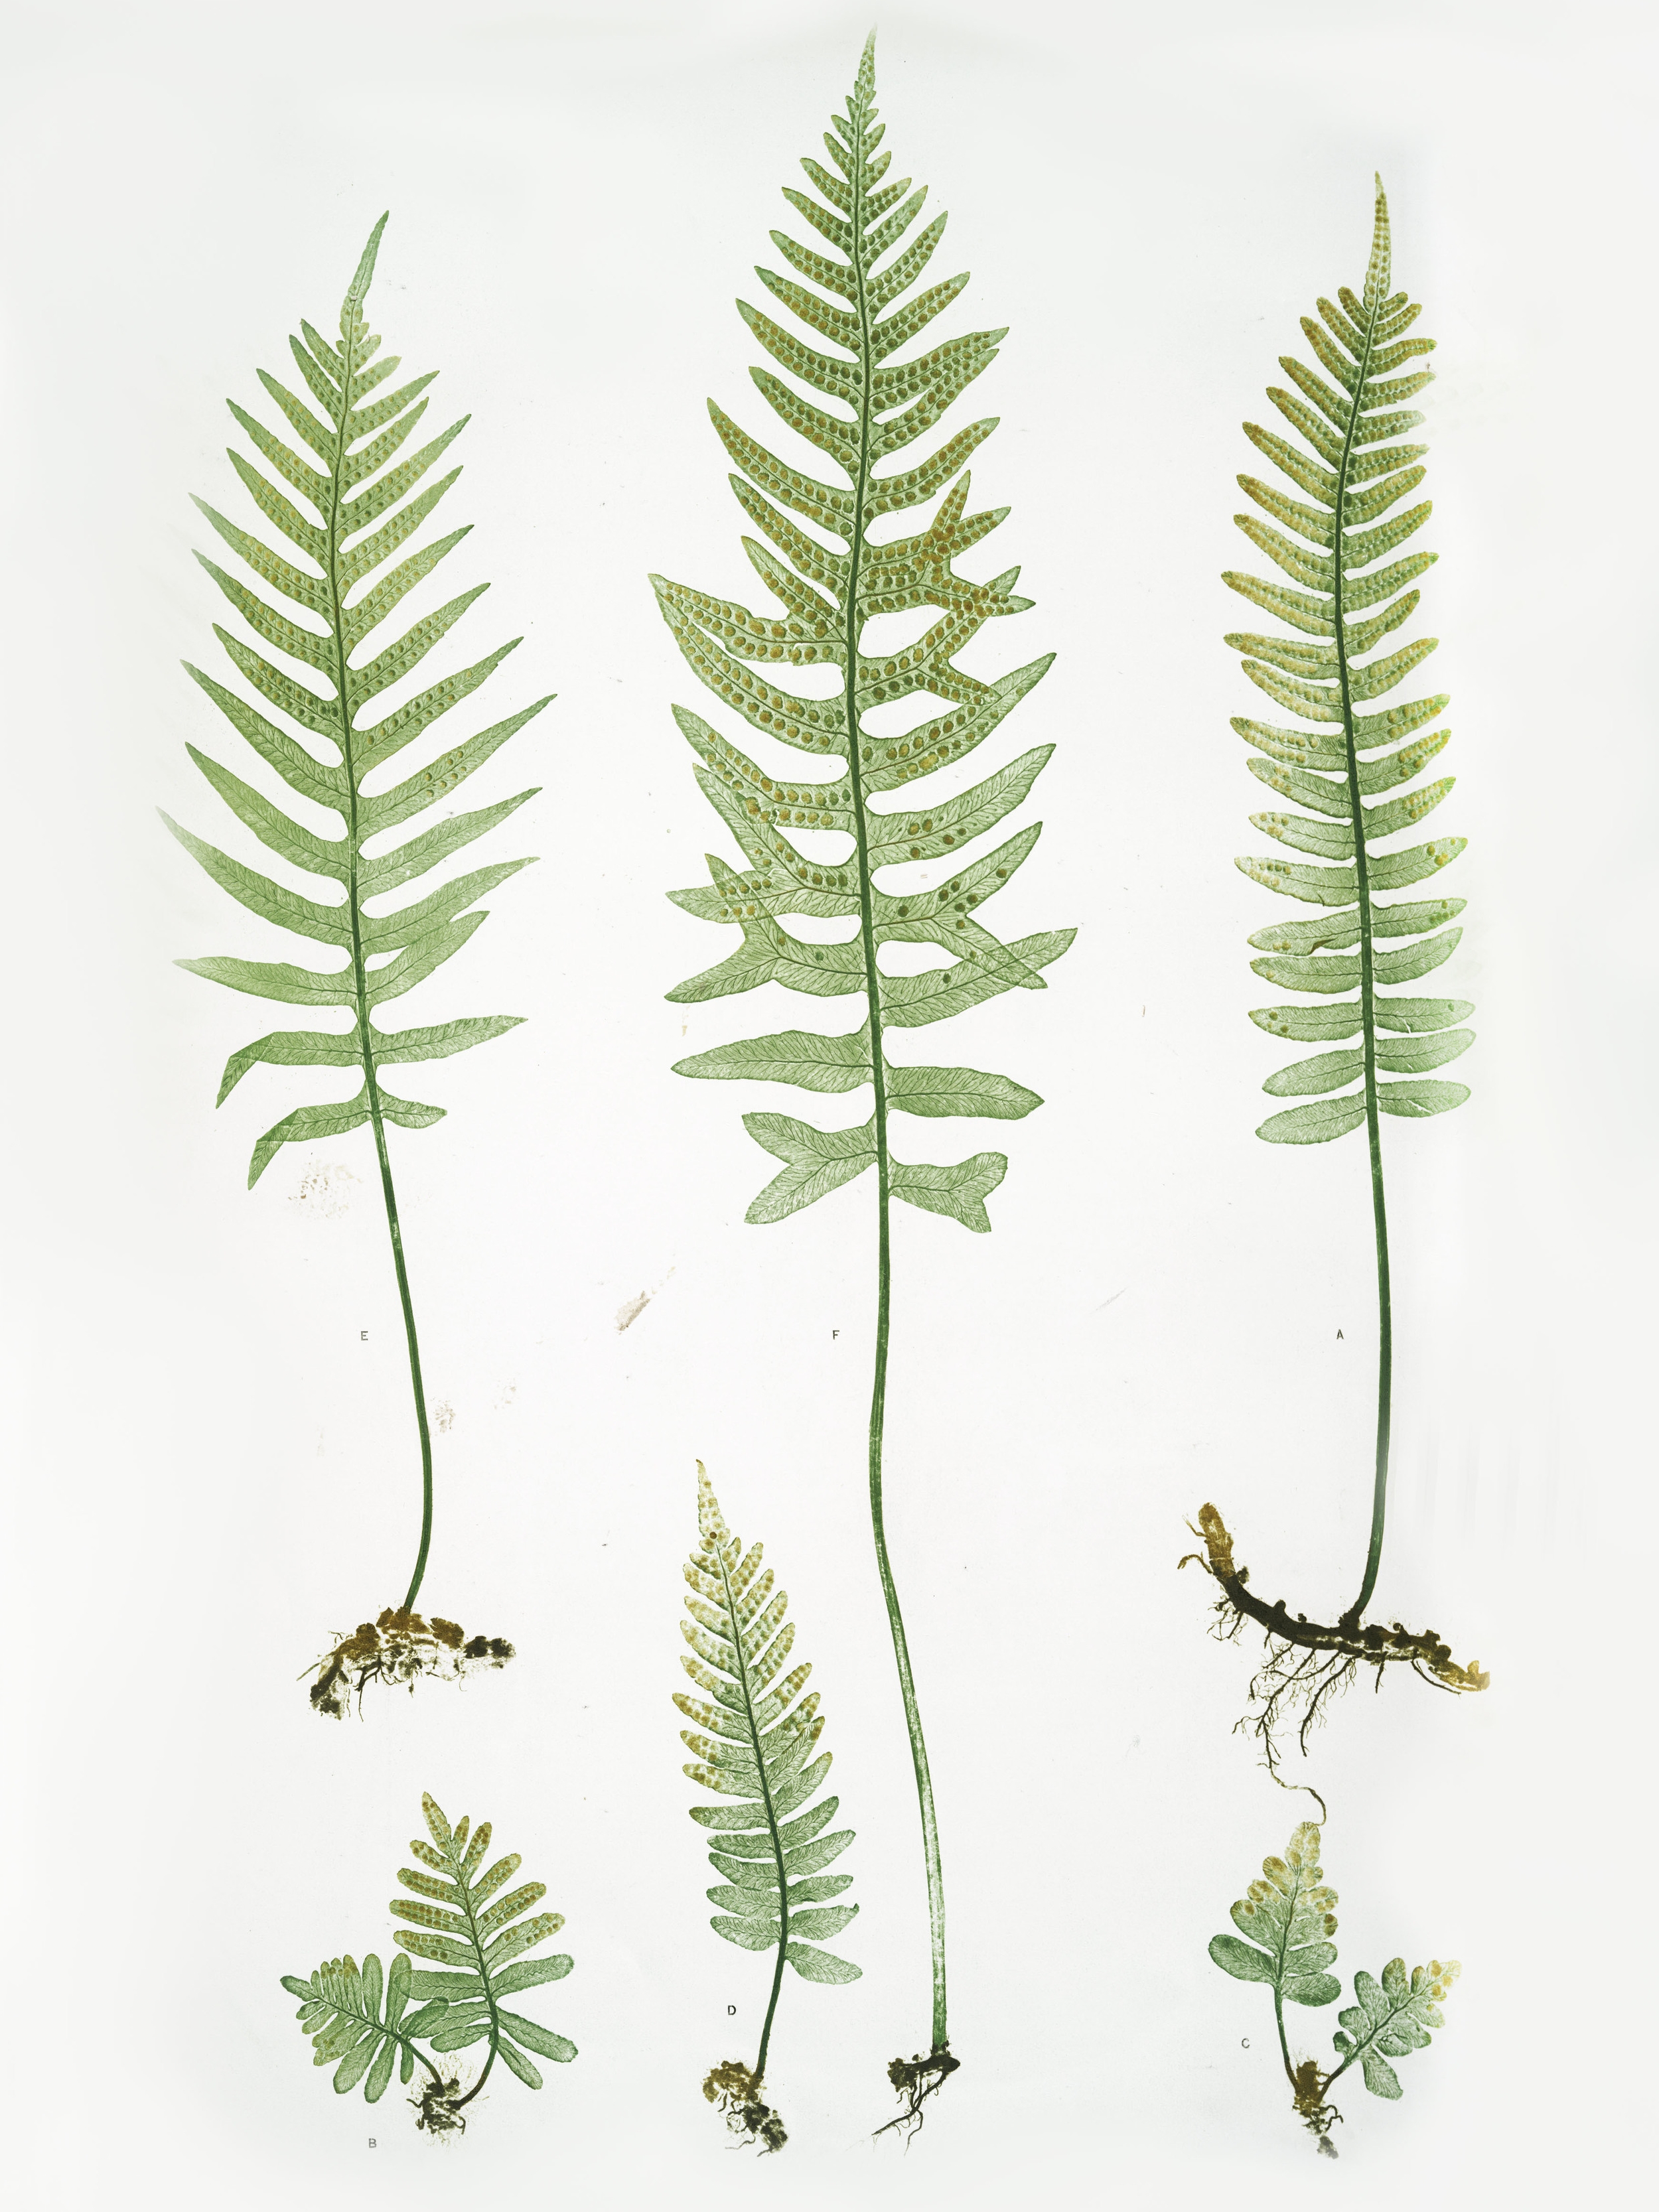
Botanical 12x16 prints


This is my first DIY post, and I would love to know if anyone tries this out in their home! Feel free to comment below or follow me on social media. Use hashtag #west5thathome!